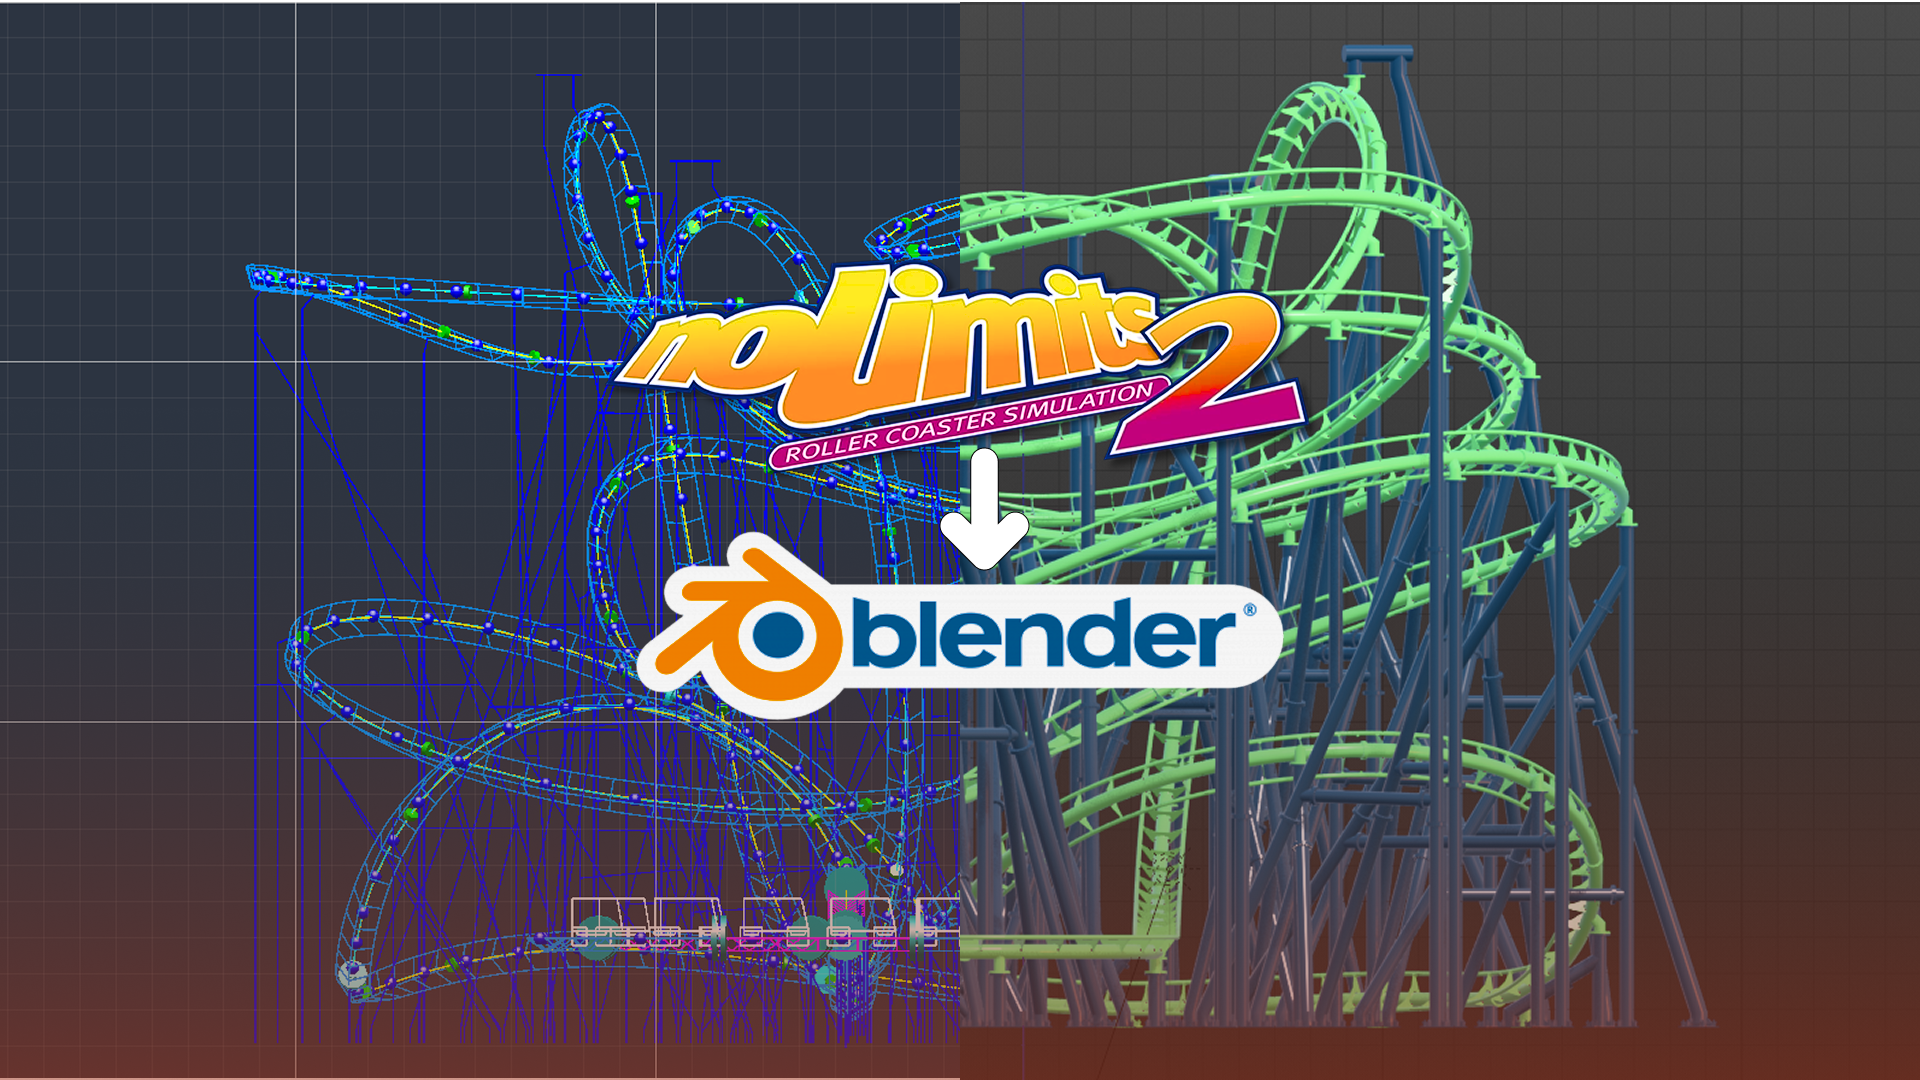
Congrats! You’ve finished your NoLimits 2 coaster layout! 🎉 Now it’s time to turn it into a 3D model for printing, for importing as a TMTK item in Planet Coaster, or just because you can! This guide will help you begin the next stage of your project: by exporting both the spline and supports into Blender, and then (eventually) you’ll get a model to export to all that fun stuff mentioned earlier.
Downloads & Setup
To pull this off, you’ll need four things:
(I’m looking for ways to do this with the standard version of NoLimits 2, but for now you’ll need to have the Professional version for this method to work.)
For Blender, I typically use the most recent version so that my tools like Track and Support generators are always up-to-date. This guide will be using version 4.5+, but if anything becomes depreciated, please reach out to me and I’ll make updates.
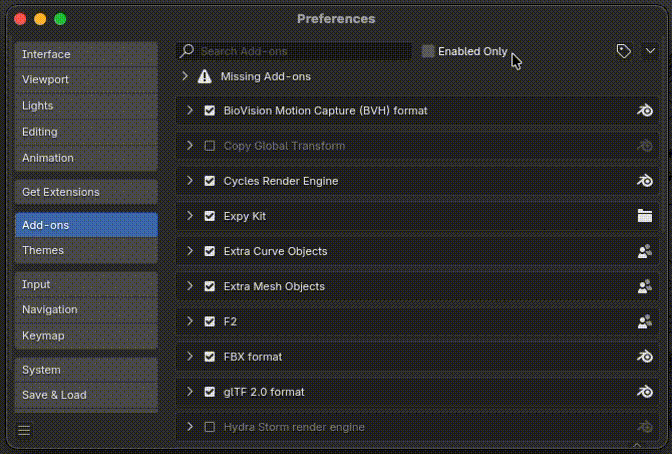
If you would like to set up your files ahead of time, I suggest having an exports folder inside your NoLimits project and also using an add-ons folder for Blender. For now, go ahead a take your zip files you just downloaded and drop them in that add-ons folder. I’ll show you how to install them when we open Blender later.
To install the Track and Support Blender add-ons listed above, open your Blender preferences with Ctrl/CMD , or go under the Edit menu then Preferences. In here, you’ll find the Add-ons menu. For version 4.5 and up, you’ll have to hit the drop-down menu and choose Install from disk. And now, find that add-ons folder and select the .zip files to install them. Do this for both add-ons, and you’re done with this part.
But for now, onto the NoLimits editor Professional Edition.
NoLimits 2 Editor
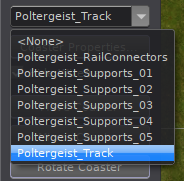
Once you’re in your NoLimits project, navigate to the Coaster tab. In there, you’re going to select the current “coaster” you’re working on.
Pay attention to this part!
If you organize your projects like me, you’ll have a whole list of options here. The more options you have, the more exports and imports you’ll need to do. Remember that. Now is also a good time to have a naming convention for your options here; labeling the splines and supports once makes it easier to maintain later.
When your “coaster” is selected, go to the Professional tab. In here, you’ll have your export options on the left side. Let’s start with Export Track Spline.
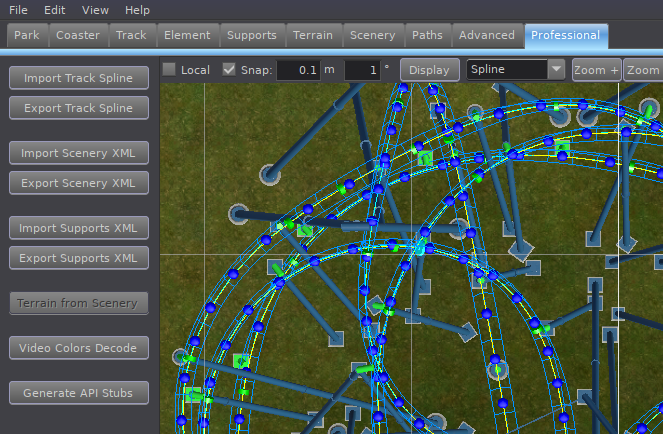
Exporting Track Spline
With splines, you’ll have two Spline Export Options. The Distance Between Points is the amount of detail in your spline. So, the lower the number, the more detailed spline you get. (Too much detail can slow down your computer by a lot!) For now, 0.5 meters is perfectly fine and the option I use the most.
The second option here is the spline type. You should always choose center of rails! This will be the origin point for the track

Exporting Supports
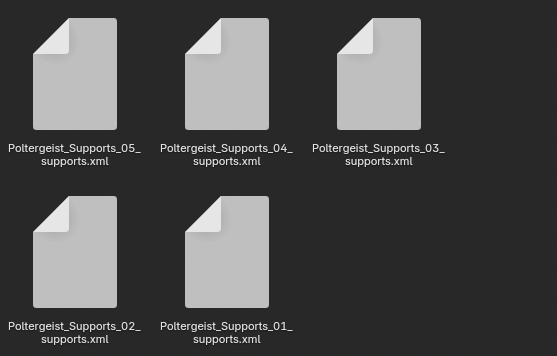
Supports are way easier. Don’t forget, you’ll have to go back to the Coaster tab and choose the supports “coaster” if you have them separated like I do in this file. Head back to the Professional tab, click Export Supports XML and save to your exports folder. That’s it!
Ok, Blender time!
Blender
Once everything is installed from the initial setup, you won’t have to worry about that part ever again which is great! From this point on, whenever you open Blender, all you’ll need to do is click File > Import.
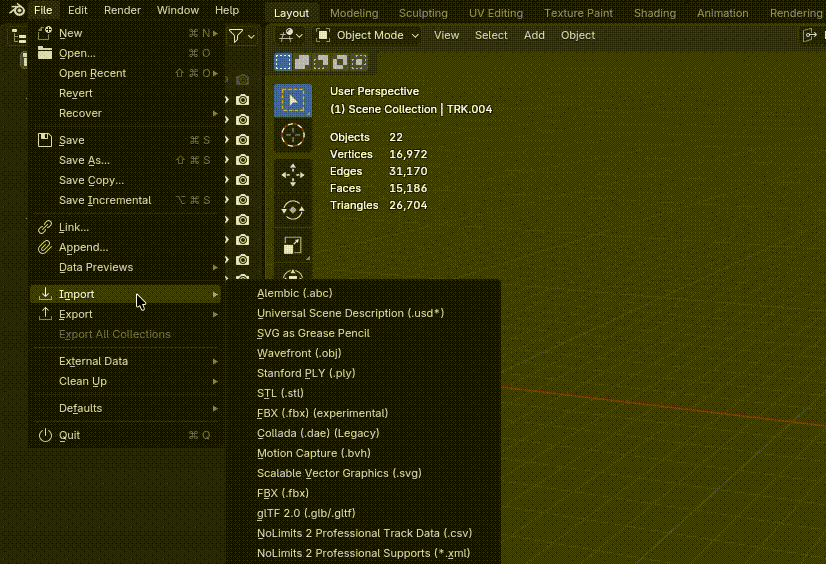
To import the spline, select NoLimits 2 Professional Track Data (.csv), and for supports select NoLimits 2 Professional Supports (*.xml). Find your exports folder from your NoLimits project, and import each spline and support file individually.
Yes, each file must individually be imported into Blender. So, on my end I’ll have to import my track spline and all 5 parts of my support files separately. Having the files separated makes working in chunks much easier both in the NoLimits Editor and in Blender, especially with projects as complicated as this one.
After importing the track spline and support files into Blender, notice the track spline’s Z-rotation and support Z-rotations don’t align. The best way of resolving this is to rotate the track spline on the Z-axis by 180 degrees. It’s more efficient than rotating each support object individually.
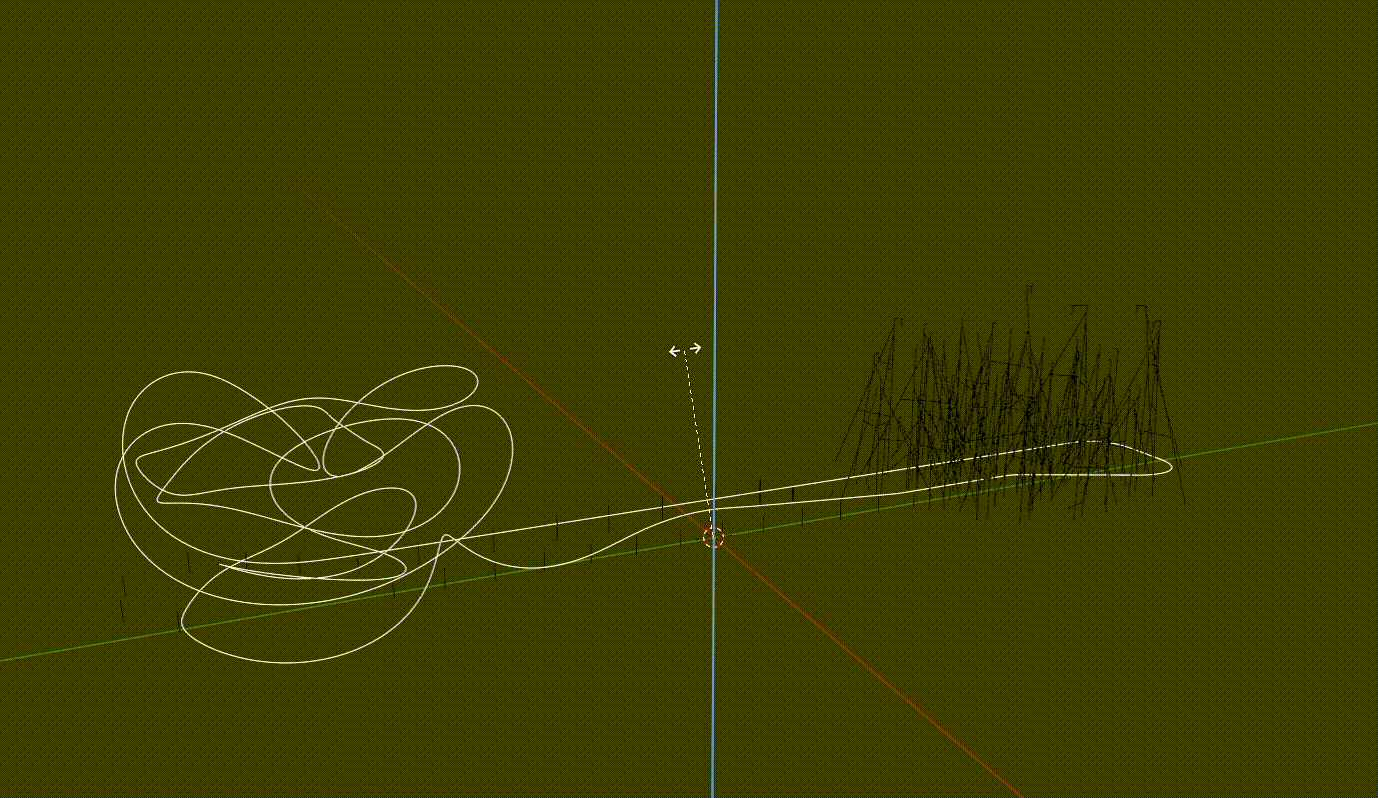
Don’t forget to apply your rotation in object mode!
Track Mesh
Now would be a great time to find a track generator tool to model the track for your project.
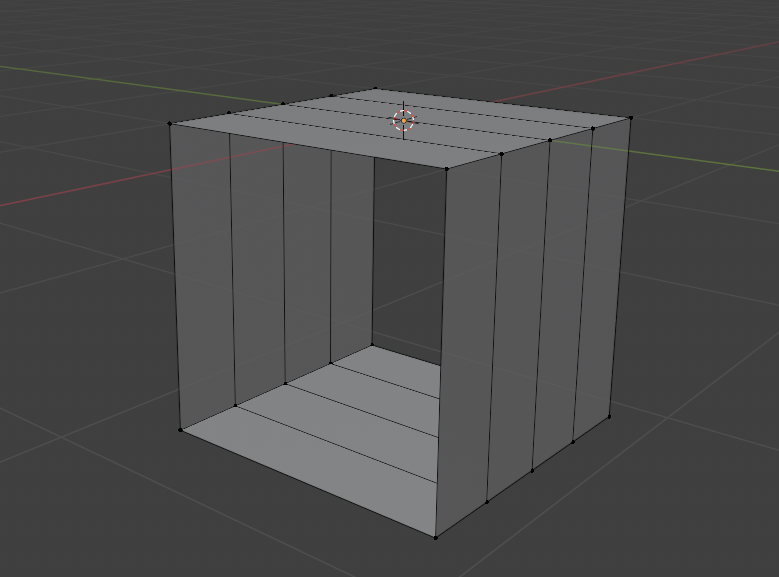
If you don’t have any track modeled yet, use the default cube. Shape it however you want, but make sure the center of rails (or the top of the cube in this example) falls on Z-position: 0 and the length of the track runs on the X-axis. It’s also a good idea to have it centered on the Y-axis.
In this example, I’ll position the cube and remove the faces running along the X-axis. Next, I’ll and add in a few loop-cuts to help it bend along the track spline.
Congrats! You’ve made your first track design!
Next, we’ll add two (2) modifiers to deform the track mesh to the shape of the spline: the Array and Curve modifiers in that order.
In the Array modifier, set the Fit Type to Fit Curve and the Curve to the imported spline. For the Curve modifier, also set the Curve to the same spline.
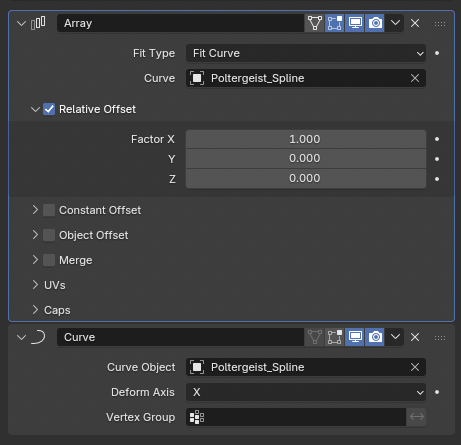
The origin of the track mesh will line up with the track spline.
Situational Bug: Side-ways Spline
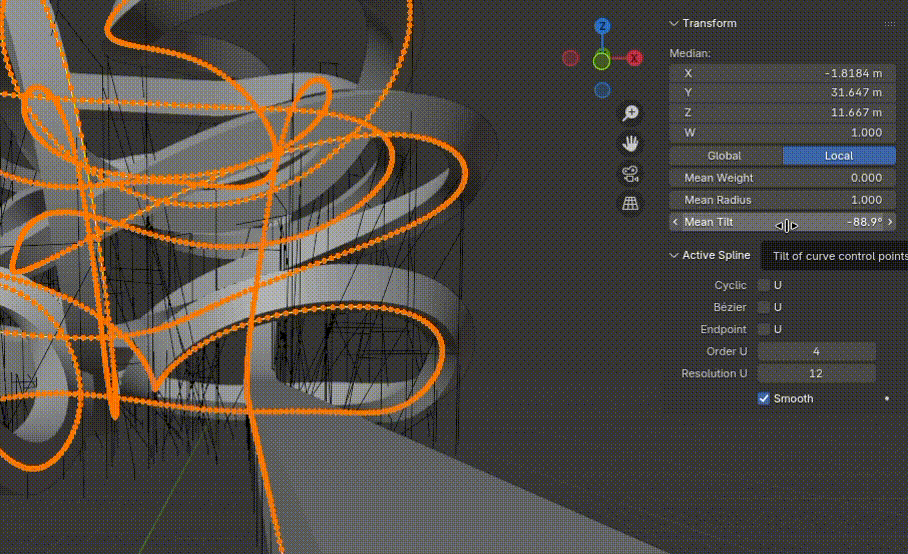
Sometimes, you may notice after adding these modifiers is that the spline points are all rotated by 90 degrees across the whole curve.
(Fix) Select the spline curve and go to edit mode (TAB). Select your entire spline (A) and in the transform menu (N) add/subtract 90d in the Mean Tilt field.
Remember to include d as our unit to avoid any errors.
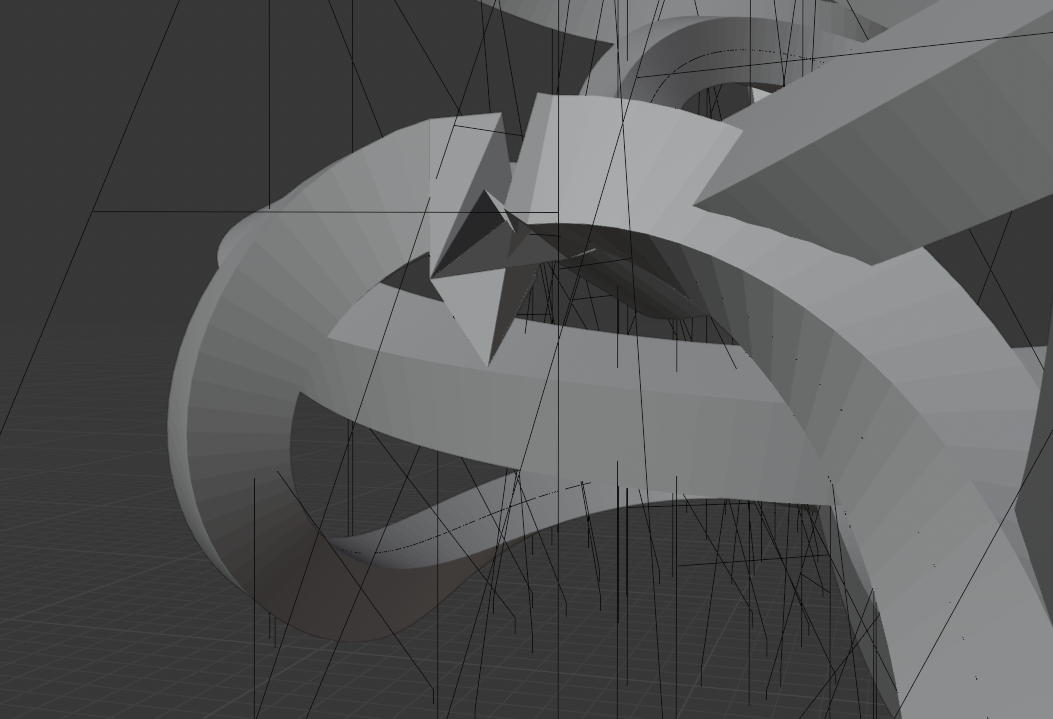
Situational Bug: Janky Inversions
If your spline reaches perfect 90 or 180-degree tilts (usually on inversions) it may cause issues.
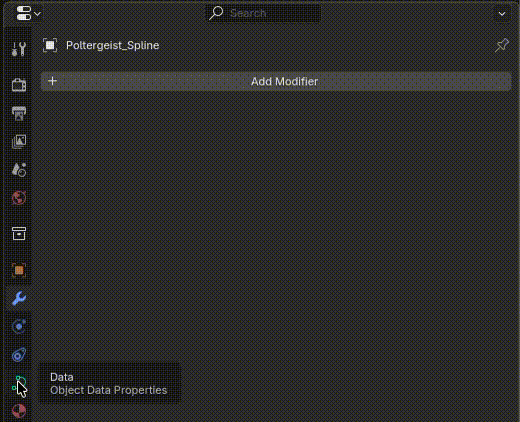
(Fix) Select the spline curve and navigate to the curve’s Data properties. In the Shape panel, drop the Resolution Preview U to 1. This makes it so that the spline using only our data points to shape the coaster’s spline tilt without subdivisions.
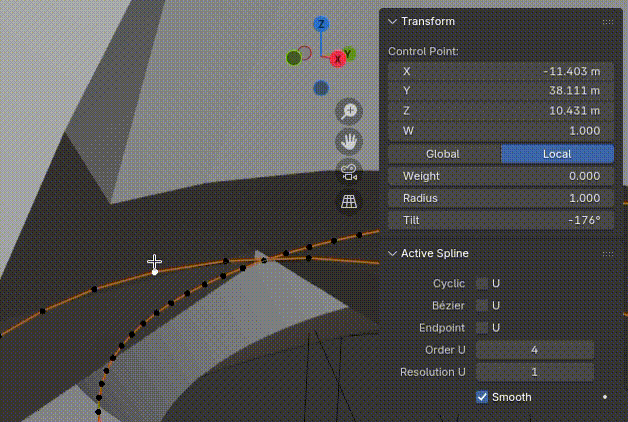
In this example, the corkscrew still has a janky transition on the point with a 180-degree tilt. While in edit mode, notice the spline points’ tilt amount jumps from -176d (Point A) to 179d (Point B).
(This part of the spline is twisting 355 degrees; almost a full tilt rotation within 0.5 meters. The usual twist amount is between 0 and 10 degrees of tilt in this distance.)
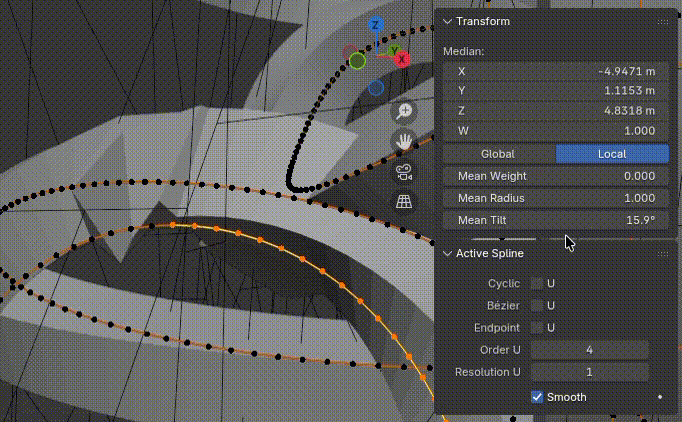
To fix this, we’ll need to make the roll continuous by adding/subtracting 360d to every curve point following “Point A” until the very last point on the spline.
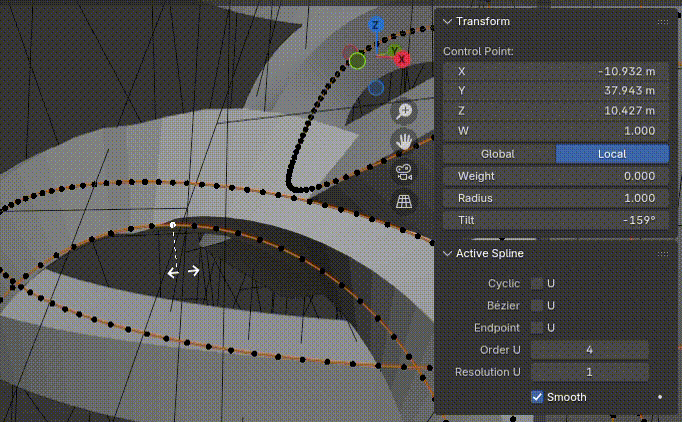
Select the point of the spline with the tilt value that drastically changes (Point B). Now, Ctrl + click the end point of the spline. In this example, because the previous point (Point A) was -176d, we will subtract 360d from the mean tilt of this entire selection of points to reduce the difference between these two (2) points from 355 degrees to 3 degrees.
Repeat this step for any blemished tilts in your spline. Don’t be surprised if your spline’s tilt gets to 1260 or higher; this just means your coaster is inverting repeatedly in the same direction.
Remember to keep the roll continuous!
If you still have blemishes in your spline, you may need to manually tilt the spline points (CTRL/CMD T) to make sure the tilt is flowing continuously through the element.
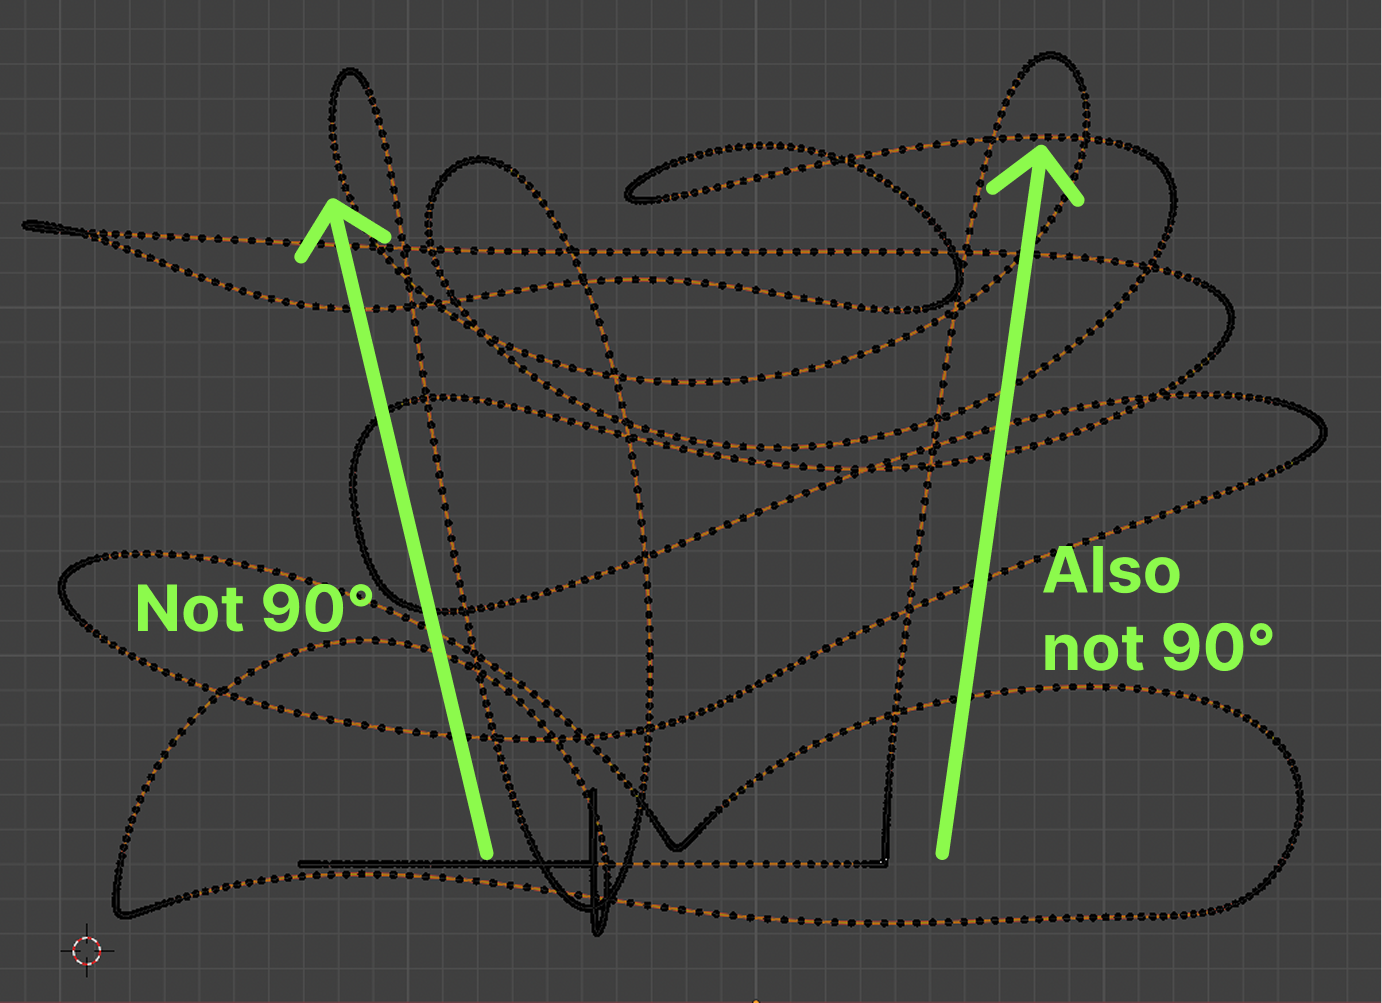
The alternative is to go back in the NoLimits export settings and play around with the Distance Between Points value. For me this is too much guess work, so I stick to the manual tilt adjustments. Or you could make sure that your inversions are not at perfect 90 and 180 degree angles like the Cobra Roll and Sidewinder here.
But some elements including loops, corkscrews, and 90 degree lifts can’t avoid the manual tilt adjustment, so be on the lookout (or design accordingly)!
Done!
And that’s it! From here, you can add any kind of track mesh with the Array and Curve modifiers we used before, and converting the supports into curves and adjusting the bevel options.
(Supports are a bit more tricky building manually, but I have created a tool that makes this process much less painful.)
The sky’s the limit at this point.
I’m also looking to make more tools for this process to make it easier for other people to coaster model with me! Because why not!
Thanks for reading!
-Jay